


For hip bursitis, ice is the right call during acute swelling and recent flare-ups. Once the sharp pain fades and stiffness takes over, switch to heat. Ice sessions run 10 to 20 minutes for the first 48 to 72 hours; heat sessions run 15 to 20 minutes once the acute phase settles. Always use a cloth barrier, pair therapy with rest, and see a clinician if things aren’t improving.
TL;DR:
- Ice should be used during the first 48 to 72 hours after symptoms start, applying it for 10 to 20 minutes every 2 to 4 hours to reduce swelling and pain.
- Switch to heat therapy after the acute inflammation subsides, typically after two to three days, with sessions lasting 15 to 20 minutes to relax muscles and improve circulation.
- Alternating ice and heat is effective once swelling has decreased, with ice after activity to control inflammation and heat before stretching to loosen stiff tissue.
- Reusable gel packs designed for the hip keep consistent contact and stay in place better than traditional frozen vegetables, making temperature therapy more effective.
- Conservative care combining rest, ice, heat, targeted stretching, and OTC anti-inflammatory medications usually leads to improvement within a few weeks, but symptoms persisting should prompt medical evaluation.
Table of Contents
- Why Ice Works Best for Hip Bursitis in the First Few Days
- When Heat Takes Over: Loosening Stiffness After the Swelling Settles
- Can You Alternate Ice and Heat for Hip Bursitis?
- Beyond Temperature: Building a Full Self-Care Plan
- A Quick Safety Checklist Before You Reach for Ice or Heat
- The Bottom Line on Ice, Heat, and Recovery
- Finding the Right Gear for Hip Ice and Heat Therapy at Home
- Sources
- FAQ
Why Ice Works Best for Hip Bursitis in the First Few Days
Ice does one job really well: it calms an angry bursa. Cold constricts blood vessels near the skin, which slows blood flow to the inflamed area and cuts down on swelling. It also numbs nerve endings enough to dull the sharp, stabbing pain that shows up when the bursa first flares. That’s why Mayo Clinic recommends ice for the first 48 hours after symptoms start, alongside rest and OTC pain relievers.
Here’s the protocol we’d suggest following:
- Apply ice for 10 to 20 minutes at a time, with a thin cloth between the pack and your skin.
- Repeat every 2 to 4 hours during the first 48 to 72 hours after symptoms flare.
- Check your skin between sessions for redness, numbness, or a waxy look. Stop if you see any of that.
- Skip ice, or check with a doctor first, if you have poor circulation, diabetes-related neuropathy, or reduced sensation in your hip and leg.
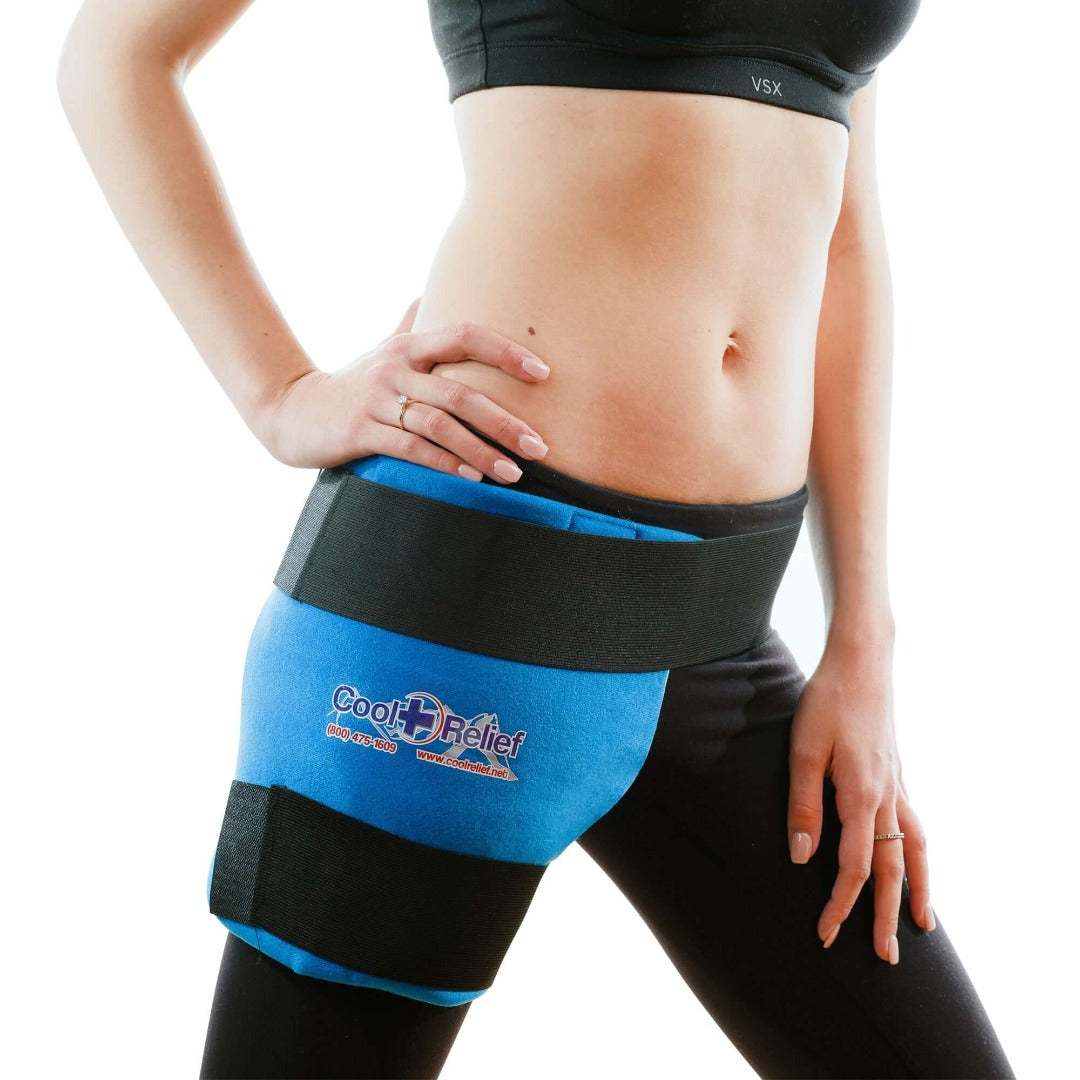
Pro Tip: A refreezable gel pack designed to hug the hip stays put better than a bag of frozen peas, which matters when you’re trying to keep consistent contact over 15 minutes.
Ten to twenty minutes is the sweet spot for a reason: shorter sessions barely touch the inflammation, and longer ones raise your risk of cold injury without adding benefit.
When Heat Takes Over: Loosening Stiffness After the Swelling Settles
Once the acute inflammation has calmed down, usually after 48 to 72 hours, heat becomes the better tool. Warmth widens blood vessels instead of narrowing them, which pushes more blood into the tissue around the hip. That extra circulation relaxes tight muscles and loosens the stiffness that tends to settle in after a flare. CHRISTUS Health frames it simply: ice for the inflammation and pain, heat for the stiffness and circulation that follow.
A few rules for using heat safely:
- Wait until the sharp, swollen phase has passed before reaching for heat. Applying it too early can make active inflammation worse.
- Aim for about 15 to 20 minutes per session, once or twice a day.
- Moist heat, like a warm damp towel or a moist heating pad, tends to penetrate deeper into tissue than dry heat, which is why it’s often the better pick for muscle relaxation around the hip.
- Never fall asleep on a heating pad, and be extra cautious if you have numb or reduced-sensation skin. You won’t feel a burn coming until it’s already happened.
Can You Alternate Ice and Heat for Hip Bursitis?
Alternating works well once you’re past the initial flare and dealing with a mix of soreness and stiffness. The logic is simple: ice after activity to keep inflammation down, heat before stretching to loosen tight tissue so you move more freely. Some orthopedic guidance supports easing into heat several days after the initial icing phase, once swelling has settled.
Three routines cover most situations:
- Acute flare-up: Ice only, 10 to 20 minutes every few hours, for the first 2 to 3 days. Skip heat entirely until swelling drops.
- Post-exercise soreness: Ice for 15 minutes right after activity to head off inflammation before it builds.
- Chronic stiffness with no active swelling: Heat for 15 to 20 minutes before stretching or physical therapy exercises, to loosen the hip before you move it.
One safety note worth repeating: never apply ice and heat at the same time. Let your skin return to a normal temperature between sessions, and never layer one directly on top of the other.
Beyond Temperature: Building a Full Self-Care Plan
Ice and heat matter, but they’re one piece of a larger plan. UCSF Health lists rest, ice, targeted stretching, and OTC anti-inflammatory medication as first-line treatment for hip bursitis, and most people improve without needing anything more advanced.
Here’s what belongs in that plan alongside your ice and heat routine:
- Cut back on activities that load the hip repeatedly, like running on hard surfaces or sitting with legs crossed for long stretches.
- Take OTC NSAIDs as directed on the label if you don’t have a medical reason to avoid them.
- Add gentle hip stretches once acute pain has faded, and see a physical therapist if soreness lingers past a couple of weeks.
- Expect gradual improvement over days to a few weeks with conservative care. If nothing’s changed after several weeks, that’s a signal to get evaluated.
Certain symptoms deserve prompt medical attention rather than another round of home care: fever, pain that’s rapidly worsening instead of easing, numbness spreading down the leg, or an inability to bear weight on the affected hip. Those point to something beyond routine bursitis and shouldn’t wait for a follow-up appointment.
A Quick Safety Checklist Before You Reach for Ice or Heat
Five things to check every time, no matter which therapy you’re using:
- Always put a thin cloth between the pack and your skin. Direct contact raises the risk of frostbite or burns.
- Stick to 10 to 20 minute windows. Longer isn’t better; it’s just riskier.
- Look at your skin during and after each session for redness, blistering, or numbness.
- Never apply either therapy over broken skin, a wound, or a fresh incision.
- Stop immediately if pain gets worse instead of better, and don’t push through it hoping it’ll pass.
Pro Tip: Moist heat tends to outperform dry heat for deep muscle relief because the water content helps warmth travel further into tissue. That’s part of why Cool Relief builds its soft gel wraps to work as either a moist or dry heat source, depending on how you prep them. Pairing that heat with stretching or a physical therapy routine gets you further than temperature therapy alone.
The Bottom Line on Ice, Heat, and Recovery
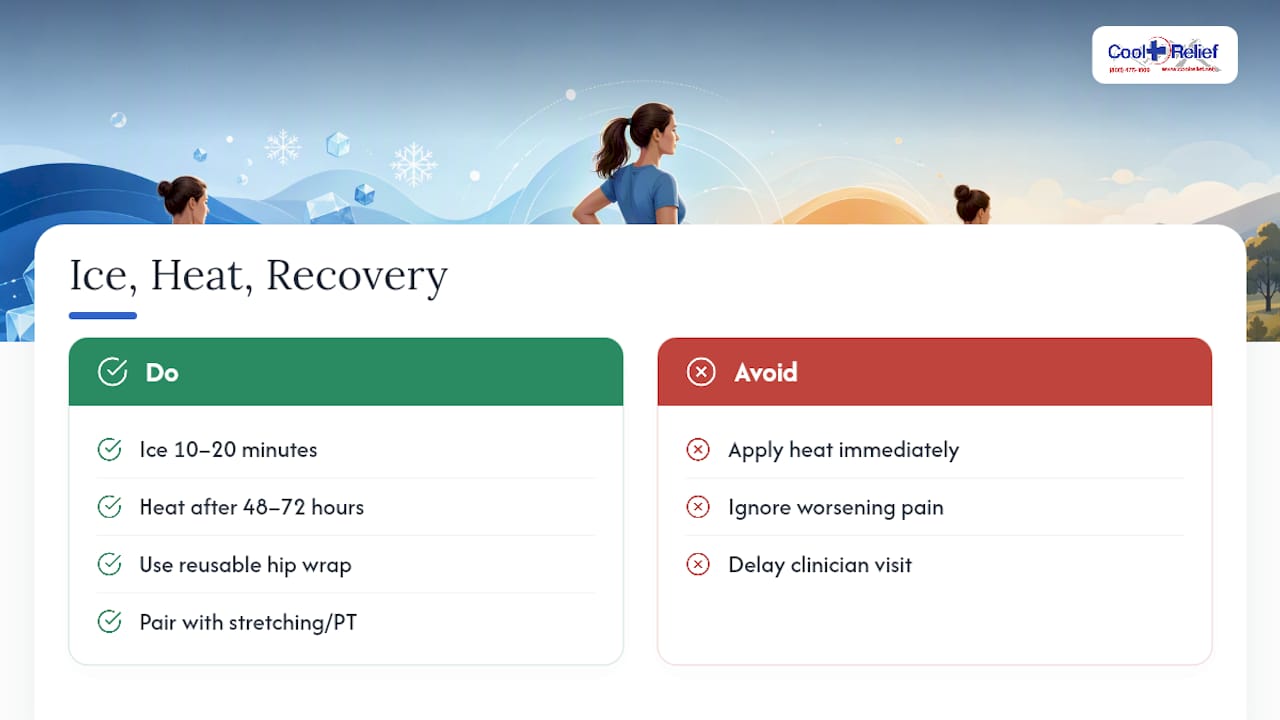
Ice for the acute pain, heat for the stiffness that follows. That’s the core of it. Reusable wraps that fit the hip properly make it easier to stick to the 10 to 20 minute windows that actually work, instead of holding an awkward bag of ice in place with one hand while you try to do anything else. Pairing that consistency with stretching or physical therapy is what separates people who bounce back in a couple of weeks from people still nursing the same stiffness a month later.
Most cases of hip bursitis respond well to this kind of conservative, at-home approach. But if your pain isn’t following the expected pattern, if it’s getting worse instead of better, or if something about your symptoms feels off, that’s worth a conversation with a clinician rather than another week of guessing.
— Cool Relief
Finding the Right Gear for Hip Ice and Heat Therapy at Home
Getting the timing right matters, but so does the tool doing the work. A pack that slides off your hip every time you shift positions makes it nearly impossible to hit that 10 to 20 minute window consistently.
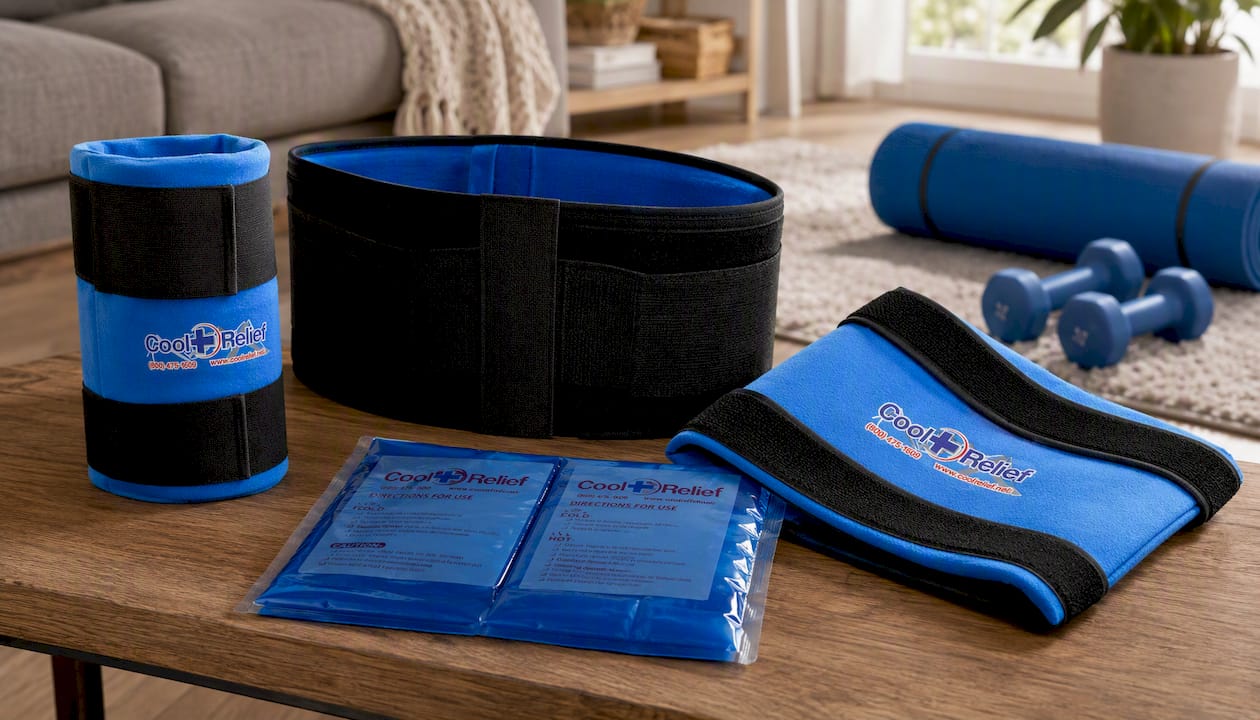
The Soft Gel Hip Ice Pack is built to wrap securely around the hip and stay in place through the full cold session, with a cloth-friendly surface so you’re not applying gel straight to skin. When you’re ready to move into the heat phase, the Soft Gel Back Heat Wrap covers the hip and lower back together and supports both moist and dry heat, so you can match it to whatever gives you the deeper relief. Both are refreezable and reusable, which beats restocking gel packs or disposable heating pads every time you flare up. If you’re dealing with a knee issue alongside your hip, the Knee Ice Pack Soft Gel uses the same soft gel technology in a shape built for the knee. Pick the wrap that matches your symptoms, and check in with a clinician if the pain sticks around longer than it should.
This article is general information, not a substitute for advice from a qualified doctor. Consult a qualified healthcare professional about your own circumstances before acting on anything here.
Sources
- Trochanteric Bursitis | Conditions | UCSF Health
- Bursitis - Diagnosis and treatment | Mayo Clinic
- Relieve Hip Bursitis, Strategies for Recovery | CHRISTUS Health
- Hip Bursitis: Care Instructions | MyHealth Alberta
FAQ
What Is the Fastest Way to Get Rid of Hip Bursitis?
Rest the hip, ice it for 10 to 20 minutes several times a day during the first 48 to 72 hours, and use OTC anti-inflammatory medication as directed. Most people notice real improvement within days to a couple of weeks with this conservative approach.
How Do You Calm Down an Inflamed Bursa?
Ice is the most direct way to calm acute inflammation, since it constricts blood vessels and numbs the area. Combine it with rest, avoid the movements that aggravate the hip, and add OTC anti-inflammatories if you don’t have a reason to avoid them.
What Flares Up Hip Bursitis?
Repetitive movements like running, climbing stairs, or sitting with legs crossed for long periods can aggravate the bursa, along with sudden increases in activity. Direct pressure from lying on the affected side often makes symptoms worse too.
How Long Does It Take for an Inflamed Hip Bursa to Heal?
Most cases improve within a few days to several weeks using rest, ice, heat, and targeted stretching. If pain hasn’t started improving after a few weeks of consistent home care, it’s time to see a clinician for further evaluation.
Is Ice or Heat Better for Chronic Hip Bursitis Stiffness?
Heat is generally better once the acute swelling has passed and stiffness is the main complaint, since it increases circulation and relaxes tight tissue. Ice still has a role after activity if soreness or mild swelling returns.
Share and get 15% off!
Simply share this product on one of the following social networks and you will unlock 15% off!