


Grab a cold pack, wrap it in a thin towel, and press it against the bruise within the first 24 to 48 hours. Keep the session to 10 to 20 minutes, then repeat it multiple times throughout the day. This is the fastest way to limit swelling and pain, but never skip the towel barrier, and if the swelling is severe or the bruise keeps growing, call a doctor instead of icing it alone.
TL;DR:
- Applying ice for 10 to 20 minutes every two hours during the first 48 to 72 hours effectively limits swelling and pain without risking cold injury.
- Use a soft, wrapped gel pack or crushed ice in a sealed bag, and choose a shape-specific wrap for hard-to-reach areas like the wrist, shoulder, or large areas.
- Prolonged icing beyond 20 minutes can cause vasodilation and increased swelling, so monitoring skin color and sensation during sessions is essential.
- After the initial swelling phase, switching to heat or contrast therapy can help improve blood flow and residual stiffness.
- Seek medical attention if swelling worsens, numbness or weakness occur, or the bruise persists without improvement after a week.
Table of Contents
- How to Use Ice for Bruises: A Step-by-Step Approach
- How Long to Ice a Bruise Before It’s Too Long?
- Where Ice Fits Into a Full Bruise Care Routine
- When a Bruise Needs More Than Ice
- Matching the Right Ice Wrap to the Bruise
- Our Take on Icing Bruises
- Get the Right Wrap for Where You’re Bruised
- Sources
How to Use Ice for Bruises: A Step-by-Step Approach
You don’t need a medical degree to ice a bruise correctly, but a few details separate a fast recovery from an unnecessary skin injury. Here’s the sequence that actually works.
- Pick your cold source. A refreezable gel pack molds best to curves like knuckles or ankles. Crushed ice sealed in a zip-top bag works almost as well and costs nothing. Frozen vegetables, peas especially, are the classic backup because the small pieces flex around bone.
- Always wrap it first. Never let ice touch bare skin. A thin dish towel, pillowcase, or cotton T-shirt between the cold source and your skin prevents frostbite and lets the cold penetrate without shocking the tissue.
- Apply with light, steady pressure. Press the wrapped pack against the bruise and let it settle into the shape of the area. On a wrist or ankle, wrap it partway around the joint. On a thigh or shoulder, lay it flat and hold it in place rather than pressing hard.
- Time the session. Ten to 20 minutes is the window. Set a timer if you tend to lose track. Wait one to two hours before icing again, and plan on four to eight short sessions across the first day or two.
- Adjust for who’s icing. Kids and older adults have thinner skin and may not report discomfort as quickly, so check the area every five minutes rather than waiting for a complaint. Anyone with reduced sensation, from diabetes or nerve damage, should shorten sessions and check the skin more often, since they may not feel the early warning signs of cold injury.
Pro Tip: Keep two gel packs in the freezer at once. While one is icing the bruise, the other is recharging, so you’re never stuck microwaving a bag of peas because the “good” pack is still thawing on the counter.
How Long to Ice a Bruise Before It’s Too Long?
Ten to 20 minutes per session isn’t an arbitrary number. It’s the point where cold therapy delivers its benefit, constricting blood vessels and limiting how much blood pools under the skin, without triggering a reaction that works against you.
Push past that window and your body responds with reactive vasodilation: blood vessels that were tightened suddenly flood back open, sometimes bringing more swelling than you started with. Cleveland Clinic lists 10 to 20 minutes as the safe upper range for a reason. Prolonged, continuous cold exposure also raises the risk of frostbite or nerve irritation, especially over bony areas like the wrist or shin where there’s little tissue padding.
Watch for these signs that it’s time to remove the pack early, even before your timer goes off:
- Skin turns white, blue, or waxy looking
- The area feels numb rather than cold
- You notice stinging or burning instead of a dull cold ache
- Sensation feels “off” compared to the rest of your skin
Most bruises benefit from icing across the first 48 to 72 hours. After that, the acute swelling phase has usually passed, and continuing to ice offers diminishing returns. If you have neuropathy, Raynaud’s disease, or any condition that affects circulation or sensation, cut sessions shorter than 10 minutes or skip icing altogether and ask your doctor what’s safe for you.
Where Ice Fits Into a Full Bruise Care Routine
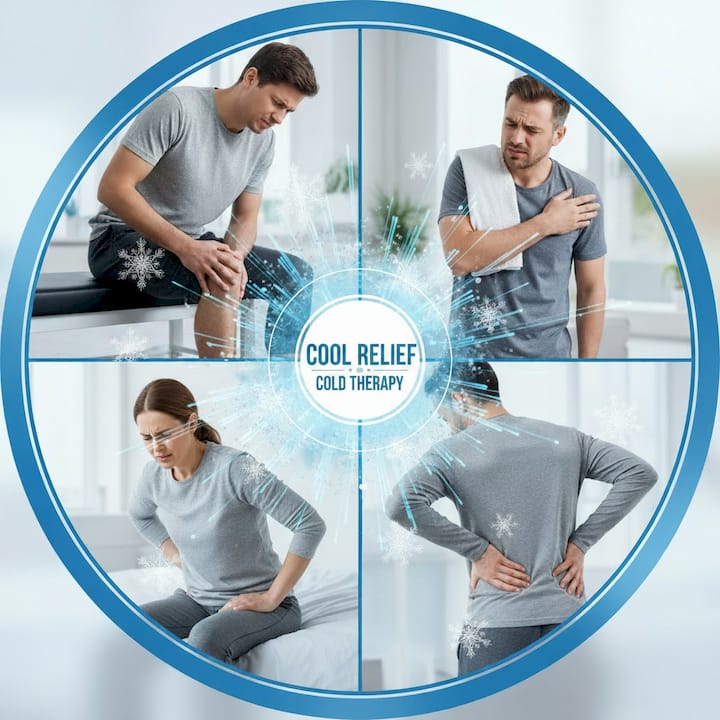
Ice is one piece of a larger first-aid approach, not the whole plan. Most clinicians still point to RICE, or its updated cousin PRICE, which adds “protection” to the mix. Ice handles pain and swelling in the moment, but compression and elevation do real work too. Wrapping the area snugly limits how much fluid pools there in the first place, and keeping it raised above heart level, when practical, drains fluid back toward your core.
A simple three-day sequence looks like this:
- Day 1: Rest the area, ice in 10 to 20 minute sessions, apply light compression, elevate when resting
- Day 2: Continue icing on the same schedule, keep compression on, watch for improvement
- Day 3: Ease off icing if swelling has peaked, consider gentle movement if pain allows
Once you’re past the acute phase, often somewhere in that 48 to 72 hour window, heat or contrast therapy can help move pooled blood along and ease residual stiffness. Switching too early undoes the benefit of icing, so let swelling settle first.
When a Bruise Needs More Than Ice
Most bruises resolve with home care, but a handful of warning signs mean you should stop self-treating and get evaluated.
- Swelling that grows fast and hurts more, not less. A hard, painful lump under the skin can signal a hematoma that needs medical drainage.
- Numbness, tingling, or weakness near the bruise. This can point to nerve or vascular involvement, not just soft tissue bruising.
- No improvement after a week, or worsening after 48 to 72 hours. Bruises should trend better, not worse, once the first few days pass.
- Bruises that appear without a clear cause, or keep recurring. Unexplained or repeated bruising can point to a bleeding disorder or medication interaction worth discussing with your primary care provider.
If you notice signs of significant blood loss, such as a rapidly expanding bruise with dizziness or a racing heartbeat, treat that as an emergency, not a wait-and-see situation.
Matching the Right Ice Wrap to the Bruise
Not every bruise sits in a spot that’s easy to ice with a bag from the freezer. That’s where a shaped wrap earns its keep, and it’s also where following the safety rules above gets a lot simpler.
- A wrist ice pack wraps around the joint instead of sliding off, which matters because wrist bruises are notoriously hard to hold a bag of peas against for a full 10 minutes.
- A soft gel shoulder wrap contours over the curve of the shoulder, so the cold reaches the bruised area evenly instead of just the flat part your hand can press against.
- The large universal compression wrap covers bigger areas like the thigh or hip, pairing cold with light compression in one step, which lines up directly with the RICE approach above.
| Bruise location | Best wrap style | Why it works |
|---|---|---|
| Wrist or hand | Wrist ice pack | Wraps snugly, stays in place during icing |
| Shoulder | Soft gel shoulder wrap | Molds to the joint’s curve for even coverage |
| Thigh, hip, or large area | Universal compression wrap | Combines cold with compression for bigger bruises |
Each of these uses moldable soft gel that stays flexible even when frozen, which means you get contact with the whole bruised area instead of one cold spot pressed against skin. Pair any of them with the knee-specific technique guide for more on timing and positioning if you’re recovering from a joint injury rather than a simple bump.
Our Take on Icing Bruises
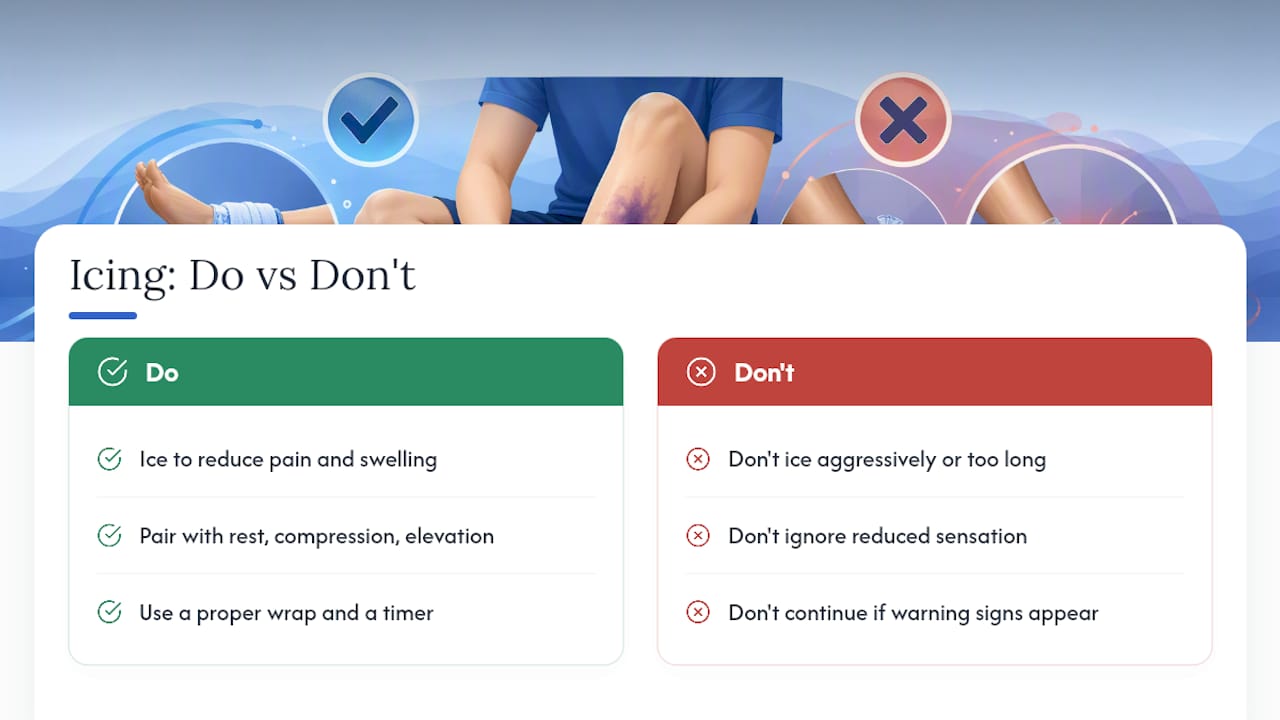
Ice won’t make a bruise heal faster in some dramatic way. The evidence for that is thin, and we won’t pretend otherwise. What it does well is take the edge off pain and swelling while your body does the actual repair work, which is exactly why pairing it with rest, compression, and elevation matters more than the ice alone.
We’d rather you ice cautiously and correctly than aggressively and wrong. If you’re older, have reduced sensation, or notice anything on that warning-sign list, ease off and check with a doctor. For everyone else, a good wrap and a timer are most of what you need.
— Cool
Get the Right Wrap for Where You’re Bruised
Coolrelief makes reusable soft-gel wraps built to solve the exact problem this article just walked through: holding safe, even cold against a bruise without slipping off or sitting directly on bare skin. Instead of juggling a leaking bag of peas or an ice cube tray wrapped in a dish towel, you get a shape that actually stays put for the full 10 to 20 minute session.
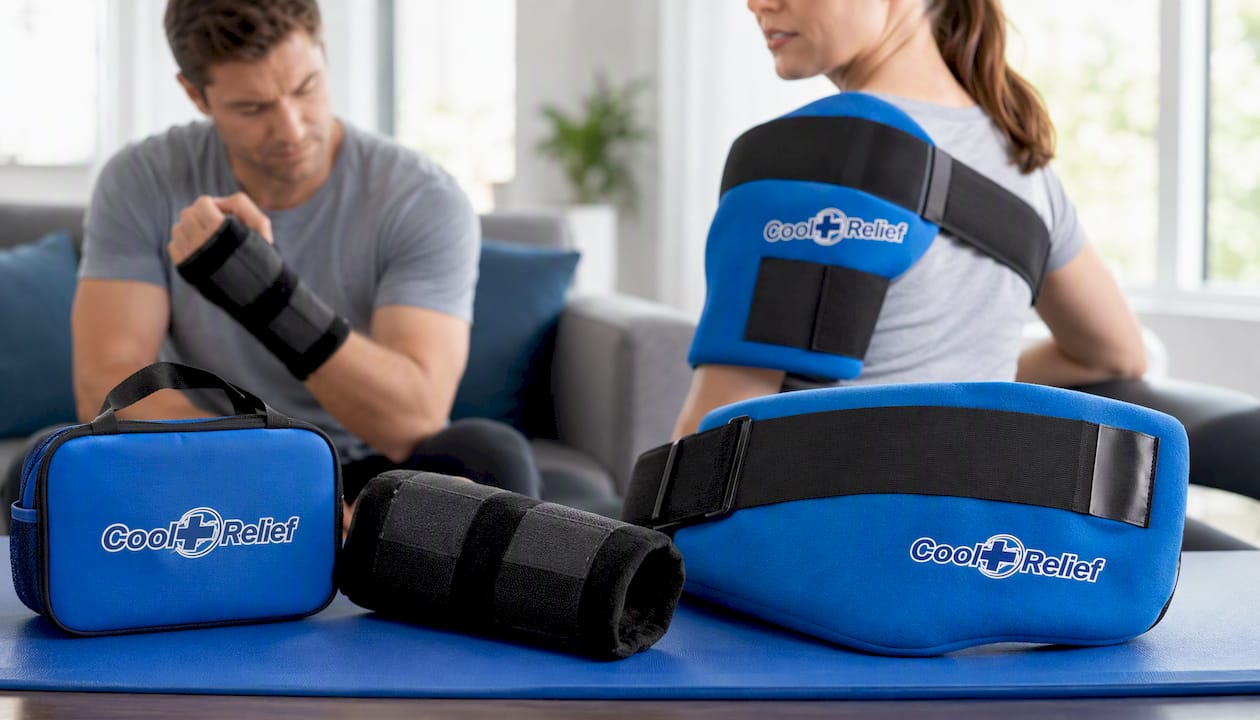
If your bruise is on the wrist, the wrist ice pack is built to wrap around the joint instead of sliding off mid-session. For a shoulder contusion, the soft gel shoulder wrap molds to the curve so cold reaches the whole bruised area, not just a flat patch. Larger bruises on the thigh or hip do better with the universal compression wrap, which adds gentle compression right alongside the cold. Pick the one that matches your bruise, keep a couple in the freezer, and you’ll always have a ready pack when you need it.
This article is general information, not a substitute for advice from a qualified doctor. Consult a qualified healthcare professional about your own circumstances before acting on anything here.
Sources
- Bruise: First aid — Mayo Clinic
- Here’s how long to ice an injury — Cleveland Clinic
- Cold versus heat for pain relief — Harvard Health
Share and get 15% off!
Simply share this product on one of the following social networks and you will unlock 15% off!